本文记录搭建 Tinc 组网的全过程
搭建 tinc 需要一台具备公网 IP 的设备作为服务器,此设备防火墙需要开放 655 TCP/UDP 端口,大体结构如下
          node(server)
             /    \
node(client1) node(client2)#服务端
本文使用 Debian11 的 VPS 用做服务端,首先安装 tinc,Debian 包管理器提供 tinc 最新版本的包 (1.0.36)
sudo apt -y install tinc1. 建立网络配置文件目录
在 tinc 配置文件目录下新建一个目录作为虚拟网络配置文件的存放处,其中 hnet 为虚拟网络名称,这个名称任意
sudo mkdir /etc/tinc/hnet
sudo mkdir /etc/tinc/hnet/hosts2. 建立配置文件
新建 tinc.conf 配置文件
sudo vim /etc/tinc/hnet/tinc.conf内容为:
Name = remote # 网络名称
Interface = veth0 # 网卡名称
Mode = switch
# 加密方式
Cipher = aes-256-cbc
Digest = sha5123. 建立节点描述文件
新建 host 文件,文件名必须和上面配置文件中的网络名称保持一致
sudo vim /etc/tinc/hnet/hosts/remote内容为:
Address = ?.?.?.? # 改为具体的公网IP,也可以是 ::
Subnet = 10.5.11.1/32 # 使用 10.5.11.x 网段4. 生成密钥
执行 tincd 命令生成密钥对,一路回车,不建议更改生成路径
# -n 指定网络名称,-K 指明生成密钥,可以在 -K 后以数字指定密钥长度,详细查看 sudo tincd --help
sudo tincd -n hnet -K 4096此时 hosts 目录下的 remote 文件应该是配置 + 公钥这种形式,此文件后面将分发其他 tinc 节点的 hosts 目录下
Address = ?.?.?.? # 改为具体的公网IP
Subnet = 10.5.11.1/32 # 使用 10.5.11.1.x 网段,网段任意,只要是保留的就可以

-----BEGIN RSA PUBLIC KEY-----
...省略
-----END RSA PUBLIC KEY-----5. 创建启动和关闭脚本
新建 tinc-up 文件
#!/bin/sh

# use ifconfig
# ifconfig $INTERFACE 10.5.11.1/24

# use ip
# tinc 会提供一个 INTERFACE 的环境变量,为此网卡分配一个固定 IP
ip link set $INTERFACE up
ip addr add 10.5.11.1/24 dev $INTERFACE
ip route add 10.5.11.0/24 dev $INTERFACE新建 tinc-down 文件
#!/bin/sh

# use ifconfig
# ifconfig $INTERFACE down

# use ip
ip route del 10.5.11.0/24 dev $INTERFACE
ip addr del 10.5.11.1/24 dev $INTERFACE
ip link set $INTERFACE down赋予脚本可执行权限
sudo chmod +x /etc/tinc/hnet/tinc-*6. 启动
sudo systemctl start tinc@hnet
sudo systemctl enable tinc@hnet
sudo systemctl status tinc@hnet使用 ip addr 查看是否存在名为 Tinc 的网卡,此网卡的 ip 应该为 10.5.11.1
使用 ping -c 5 10.5.11.1 来是否运行正常,如果能 ping 通则服务端的配置已完成处理
#DHCP 服务
开启 DHCP 服务为这个虚拟局域网提供自动分配 IP 的功能
安装 isc-dhcp-server
sudo apt install isc-dhcp-server编辑 /etc/default/isc-dhcp-server 文件,找不 INTERFACESv4 字段,改为
INTERFACESv4="veth0"编辑 /etc/dhcp/dhcpd.conf
subnet 10.5.11.0 netmask 255.255.255.0 {
    range 10.5.11.5 10.5.11.100;
    option routers 10.5.11.1;
    option subnet-mask 255.255.255.0;
    option domain-name-servers 10.5.11.1;
}#客户端(Windows)
下载 Tinc 安装包 https://www.tinc-vpn.org/download/进行安装,不建议安装在C://Program Files (x86) 下面,否则编写配置文件这些全部需要以管理员方式打开才能保存,较为繁琐,但本文还是假定安装目录为
C://Program Files (x86)/tinc
以管理员方式打开命令行,建议 WindowTerminal + PowerShell7
1. 安装网卡驱动
& 'C:\Program Files (x86)\tinc\tap-win64\addtap.bat'安装后,输入 ipconfig 查看网卡是否存在,它的名称可能是以太网 2,此处数字不固定,重命名网卡名称,该名称用于后面 tinc.conf 文件中的 Interface 字段
Rename-NetAdapter -Name "以太网 2" -NewName "Tinc"2. 建立网络配置文件目录
mkdir 'C:\Program Files (x86)\tinc\hnet'
mkdir 'C:\Program Files (x86)\tinc\hnet\hosts'3. 建立配置文件
notepad 'C:\Program Files (x86)\tinc\hnet\tinc.conf'添加内容
Name = home
Interface = Tinc
Mode = switch
ConnectTo = hnet
Cipher = aes-256-cbc
Digest = sha5124. 建立节点描述文件
echo '' > 'C:\Program Files (x86)\tinc\hnet\hosts\home'
notepad 'C:\Program Files (x86)\tinc\hnet\hosts\home'添加内容
Subnet = 10.5.11.7/325. 生成密钥对
& 'C:\Program Files (x86)\tinc\tincd' -n hnet -K 40966. 交换共钥
复制服务端的 /etc/tinc/hnet/hosts 目录下的 remote 文件至本地的 C:\Program Files (x86)\tinc\hnet\hosts 目录下
复制本地 C:\Program Files (x86)\tinc\hnet\hosts 目录下的 home 文件至服务端的 /etc/tinc/hnet/hosts 目录下
7. 创建启动和关闭脚本
新建 tinc-up.bat 批处理文件
notepad 'C:\Program Files (x86)\tinc\hnet\tinc-up.bat'添加内容
@echo off
netsh interface ip set address "%INTERFACE%" static 10.5.11.7 255.255.255.0 10.5.11.1新建 tinc-down.bat 批处理文件
notepad 'C:\Program Files (x86)\tinc\hnet\tinc-down.bat'添加内容
@echo off
netsh interface ip set address "%INTERFACE%" source=dhcp8. 测试连接
进入存在 tincd.exe 存放的目录使用下面命令开启看能否连接到服务器
.\tincd.exe -n hnet -d -D9. 生成服务
& 'C:\Program Files (x86)\tinc\tincd' -n hnet服务会自行启动,现在使用 ping 10.5.11.7 和 ping 10.5.11.1 来检查是否正常,如果 ping 不通也有可能是防火墙原因,最好临时关闭防火墙测试一下
#客户端(MacOS Sonoma)
补充:现在 MacOS 会时不时警告下面的驱动,未来需要寻找更合适的方案
1. 使用 brew 安装 tinc
brew install tinc2. 安装 tun/tap 驱动
由于版本更新,brew 废弃了 tun/tap ,因此需要先安装 Tunnelblick 来提供驱动,下载安装好后通过左上角图标进入设置
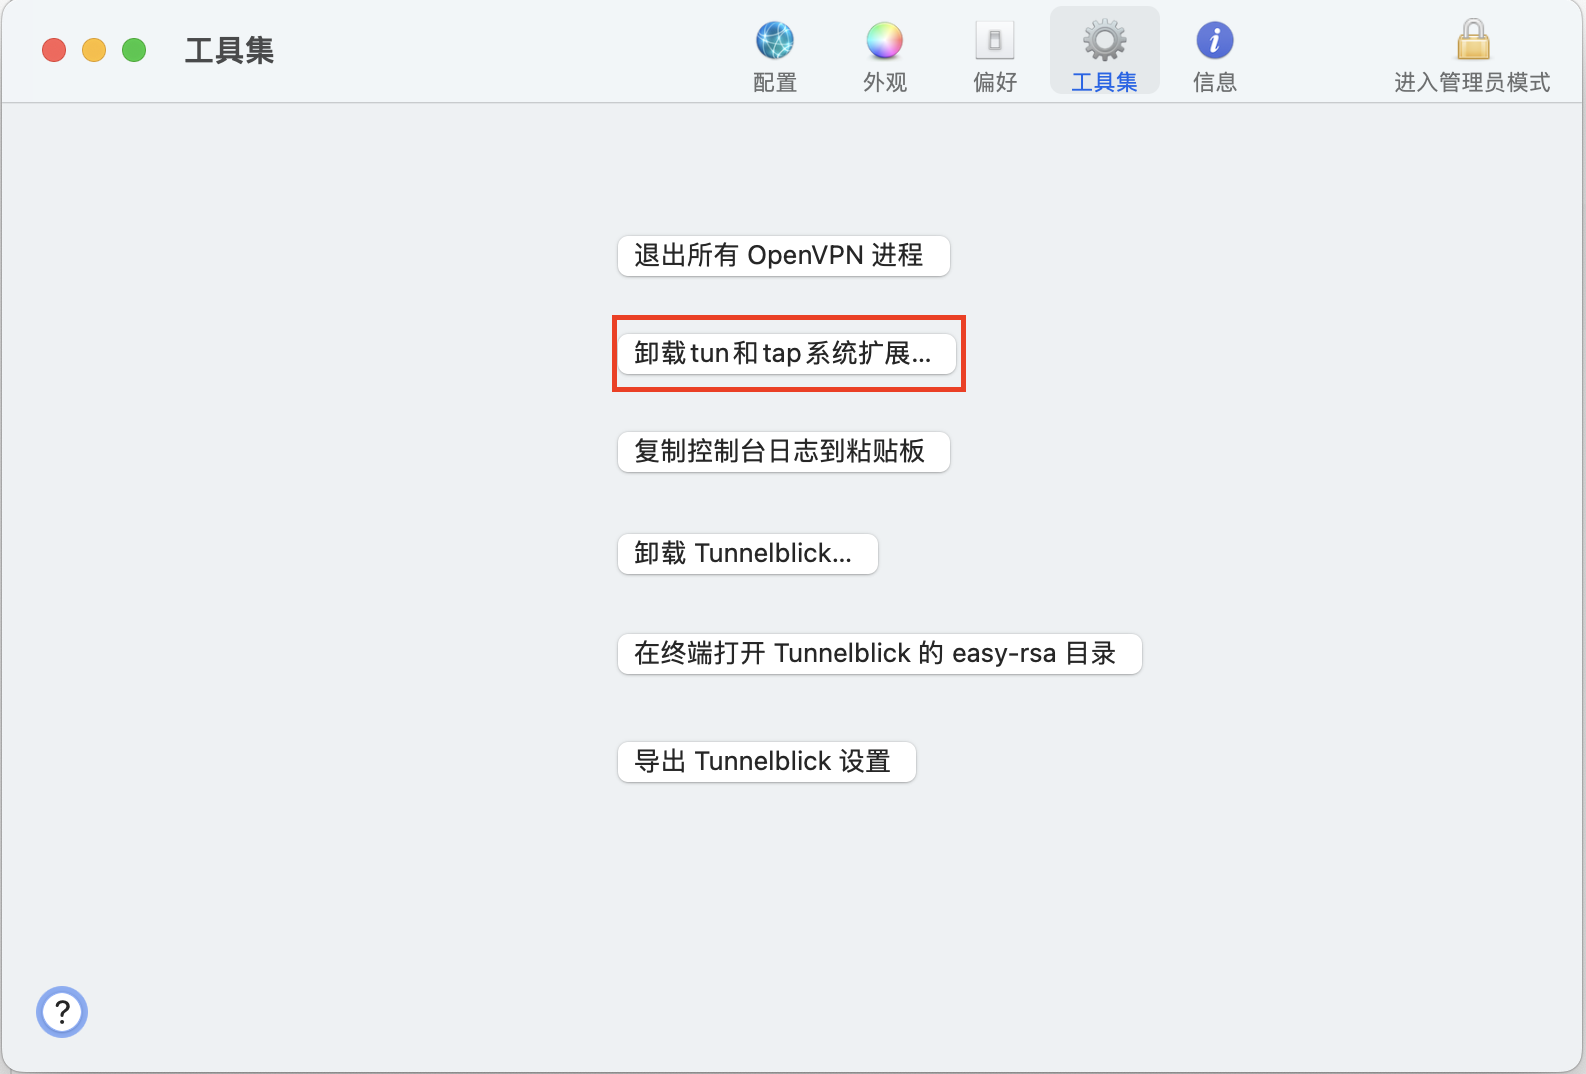
点击安装 tun 和 tap 系统扩展(这里是已经安装后的截图),它会申请权限安装,最后会要求开启系统扩展
进入 /Library/Extensions 目录查看是否存在 tunnelblick-tap.kext 和 tunneblick-tun.kext,然后输入下面命令加载
sudo kextload ./tunnelblick-tap.kext然后重启系统
3. 配置文件
由于 kextload 加载的扩展不会持久化,因此需要每次开机进行加载,在 /opt/homebrew/etc/tinc 目录下新建一个启动脚本 startup.sh,输入下面内容
# 初始网卡
kextload /Library/Extensions/tunnelblick-tap.kext

# 启动 Tinc
/opt/homebrew/Cellar/tinc/1.0.36/sbin/tincd -n hnet -D --pidfile=/opt/homebrew/Cellar/tinc/1.0.36/var/run/tinc.hnet.pid进入 /opt/homebrew/etc/tinc 目录,然后 Tinc 配置和其他客户端一样同上,不同的就是 tinc-up 和 tinc-down
tinc-up 文件
#!/bin/sh

# 固定虚拟网卡的 mac 地址,避免每次重启后的 mac 地址不一样导致 DHCP 分配不同的 IP
ifconfig $INTERFACE ether xx:xx:xx:xx:xx:xx # 这里改成任意 mac 地址
ifconfig $INTERFACE up
ipconfig set $INTERFACE DHCPtinc-down 文件
#!/bin/sh

ifconfig $INTERFACE down进入 /opt/homebrew/Cellar/tinc/1.0.36 目录新建 ./var/run/tinc.hnet.pid 文件
进入 /Library/LaunchDaemons 新建 tinc.hnet.plist 文件,这一步是配置 Tinc 开机自启,内容如下
<?xml version="1.0" encoding="UTF-8"?>
<!DOCTYPE plist PUBLIC "-//Apple//DTD PLIST 1.0//EN" "http://www.apple.com/DTDs/PropertyList-1.0.dtd">
<plist version="1.0">
    <dict>
        <key>KeepAlive</key>
        <true/>
        <key>Label</key>
        <string>tinc.hnet</string>
        <key>ProgramArguments</key>
        <array>
            <string>/opt/homebrew/etc/tinc/startup.sh</string>
        </array>
    </dict>
</plist>#客户端(Android 14)
补充:我没有一次连接成功过,下面的内容或许存在问题
1. 安装 pacien tincapp 软件
下载地址 tincapp.pacien.org
2. 安装 adb 工具
需要使用 adb 工具来访问 Tinc App 目录修改配置文件,adb 下载地址:https://developer.android.com/tools/releases/platform-tools?hl=zh-cn
下载后解压至一个目录,在 Android 手机开发者模式下开启 USB 调试模式,然后连接至电脑,在刚才解压的目录开启终端输入一下命令:
.\adb.exe devices如果显示 unauthorized 可能是你没有在手机上允许,手机会弹出一个 USB 调试指纹的确认对话,同意后再重试上面的命令,如果显示
List of devices attached
xxxxxxxx device则正常,输入下面命令进入 adb shell
.\adb.exe shell此时操作手机端,打开 Tinc App 应用,点击右上角扳手图标按钮
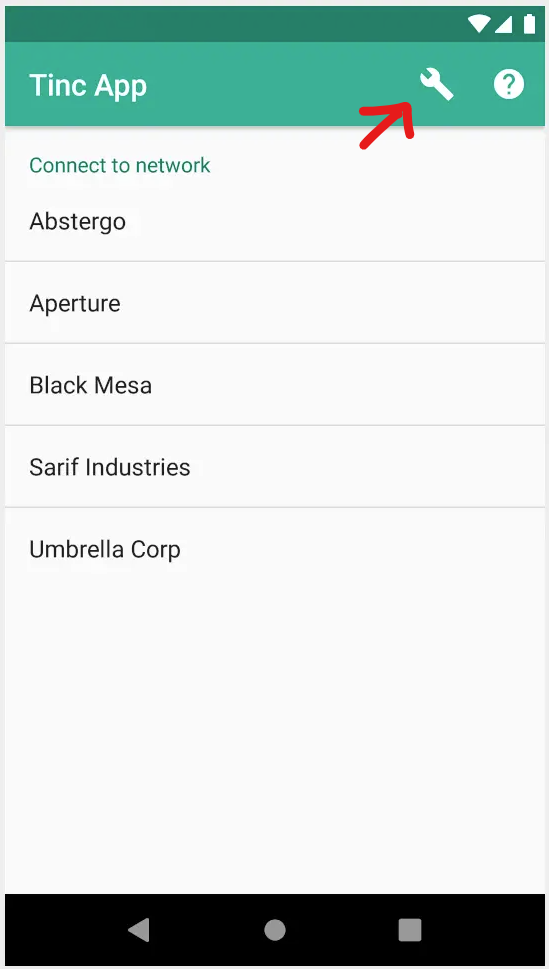
然后点击 Generate node configuration and Keys 生成一个配置文件
/storage/emulated/0/Android/data/org.pacien.tincapp/files/networks参考: http://tinc-vpn.org/docs/ https://lala.im/6209.html https://blog.virt.ltd/blog/archives/32/